How to Add Activities in Primavera P6
If you’re looking to quickly learn how to add activities in Primavera P6, you’ve come to the right place. Primavera P6 is a powerful project management software that allows you to plan, schedule, and control projects. Adding activities is an important part of the project planning process, and Primavera P6 makes it easy. This tutorial will walk you through how to add activities in Primavera P6.
There are multiple methods of adding an activity in P6; we will cover two popular methods using the wizard dialogue setup and the right-click option.
Option 1: Wizard Dialogue Method
Step 1: Open the ‘Activities’ Window
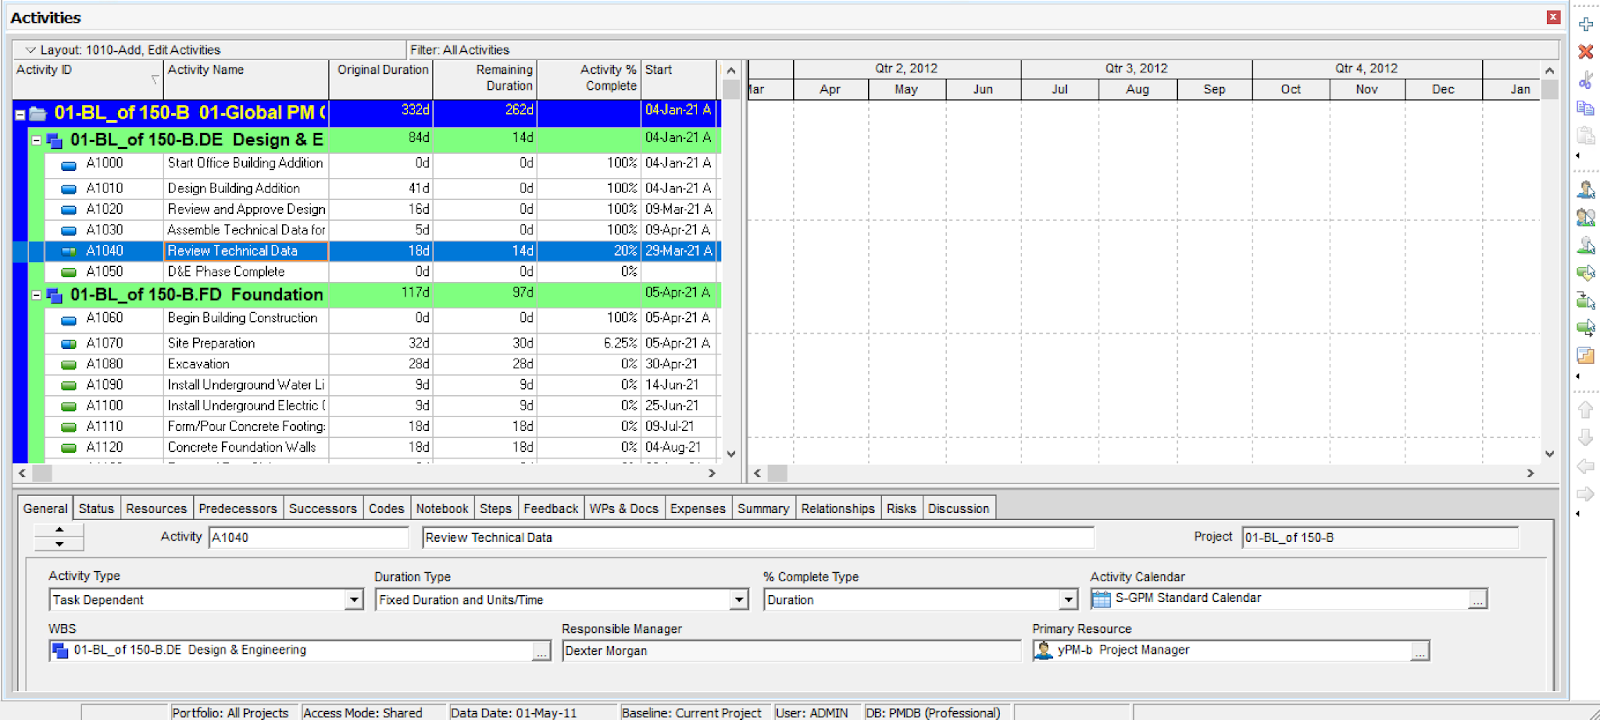
Step 2: Click on the ‘Add’ button located on the command toolbar on the right side of the Gantt Table.
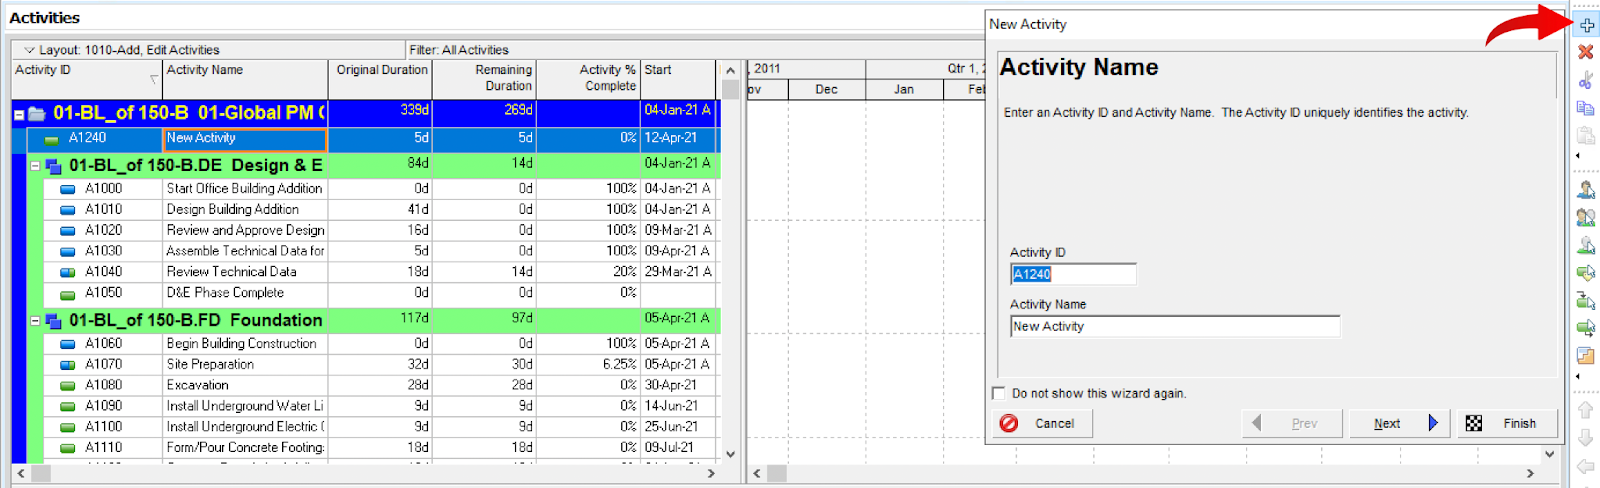
Step 3: Follow the wizard dialogue setup prompts, filling in vital information such as Activity ID, Activity Name, Activity Type, and Duration Type. Assign the activity to a specific Work Breakdown Structure and Resources if necessary. Set the activity's Duration and Constraints.
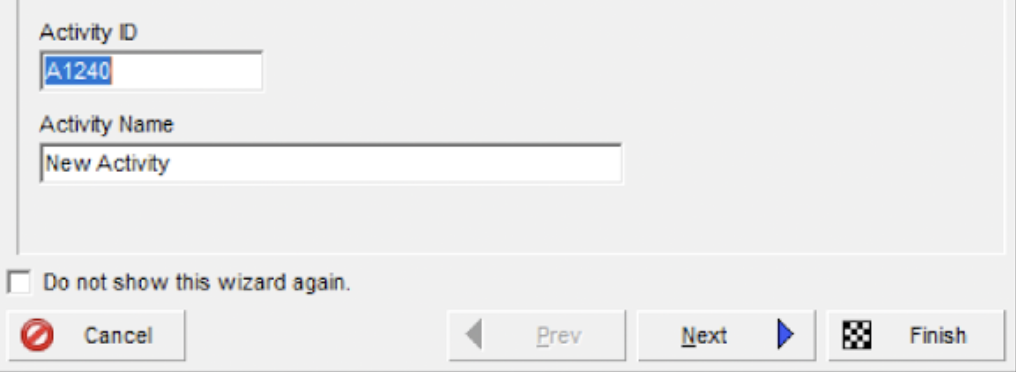
NOTE: If you like to add activities using the ‘Add’ button located on the command toolbar but don't want to use the Wizard, check the ‘Do not show this wizard again.’ checkbox at the bottom of the details form. See below:
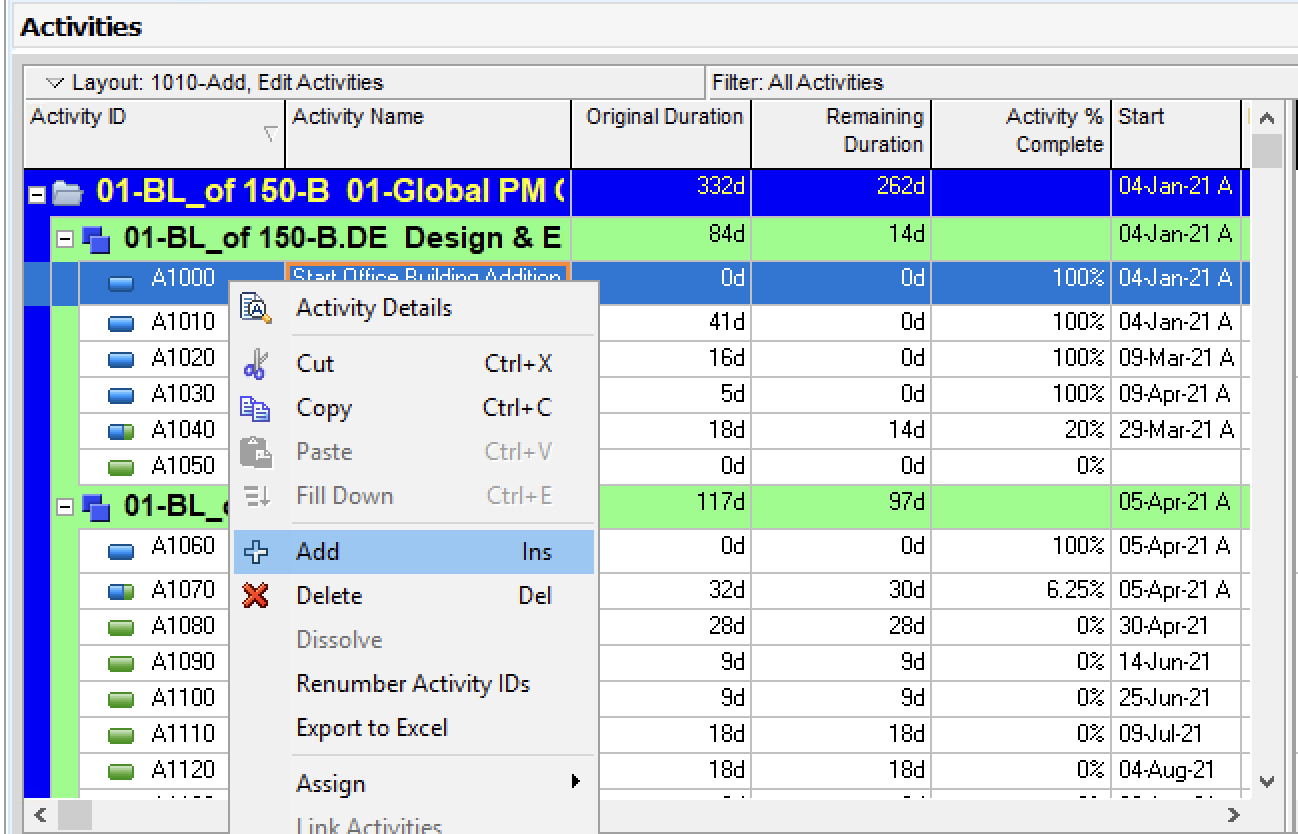
Option 2: Right-Click Method
Step 1: Open the Activities Window

Step 2: The right-click method allows us to quickly add a new activity right in our activity table. Simply right-click in the activity table and select ‘Add’.
Step 3: Add any necessary changes to the new activity settings (Activity Type, Duration, WBS, % Complete) using the ‘General’ tab in the bottom details area in the ‘Projects’ window.

Adding activities in Primavera P6 is a simple process that can help you plan and manage your projects more effectively. By following the steps outlined above, you can quickly and easily add activities to your project plan.
Using either the wizard or the right-click option in the Activity table are both good ways to add activities in Primavera P6. The wizard is helpful for those new to scheduling, while the right-click option is more commonly used by experienced P6 users.
Need more hands-on, instructor-led Primavera P6 training? Contact us or visit our website for Primavera P6 training options.
Contact us today to request a custom quote!