Primavera P6 Professional Free Trial: Easy Install Guide for Beginners

Downloading and Installing Primavera P6 Professional Version 24.12 - Made Easy!

Overview

This guide walks you through downloading and installing the latest Primavera P6 Professional 24.12 version for Windows. This version is provided as a free 30-day trial through Oracle’s eDelivery platform, ideal for training, evaluation, and non-commercial use.

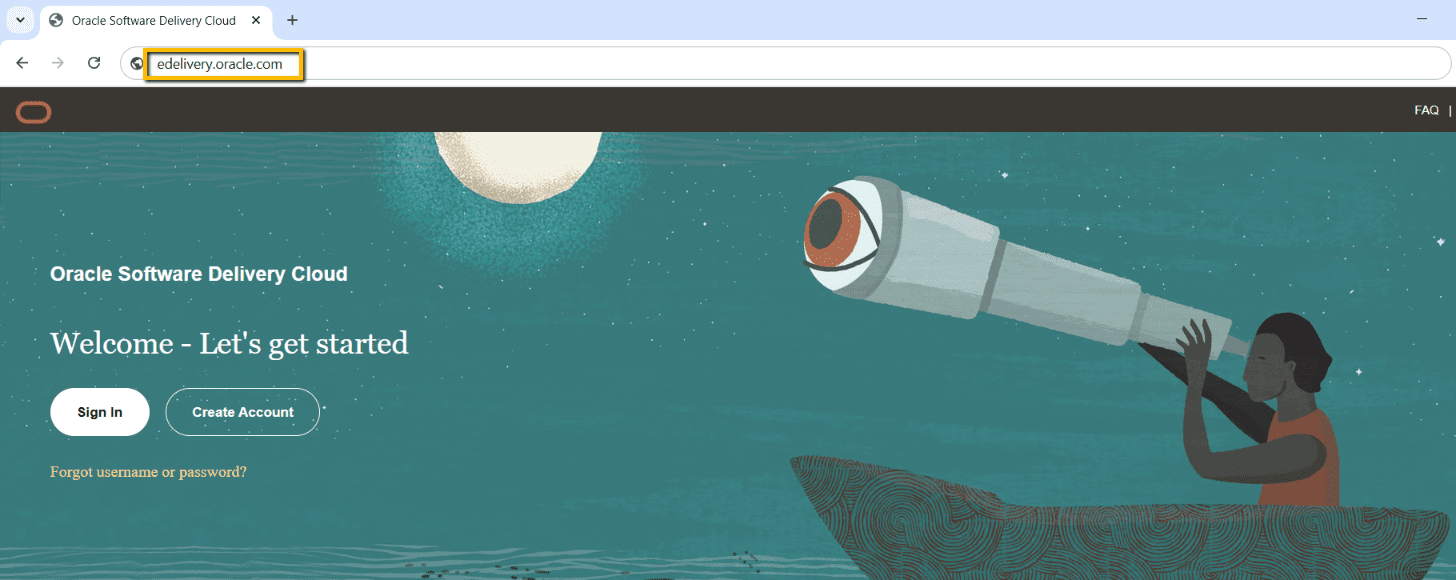
STEP 1: VISIT edelivery.oracle.com!

  1. Open a web browser & navigate to edelivery.oracle.com.
    A screen shot of a computer screen

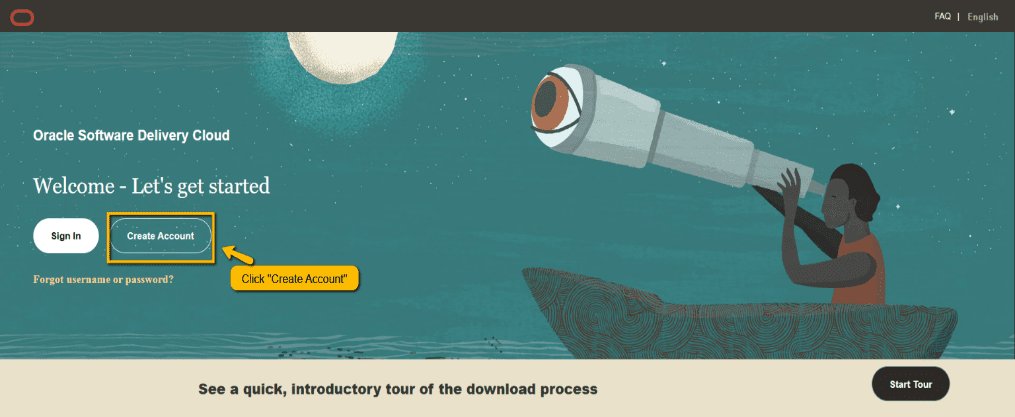
STEP 2: CREATE AN ORACLE ACCOUNT

  1. Click "Create Account" if you don't already have one.

A screenshot of a video game AI-generated content may be incorrect.

  1. Complete registration:
    • Provide your email, personal details, and company information (if applicable).
      A screenshot of a computer AI-generated content may be incorrect.
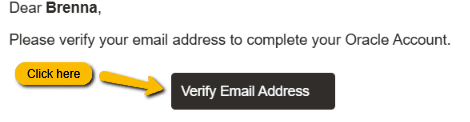
    • Verify your email and set a password.

A close-up of a black box AI-generated content may be incorrect.

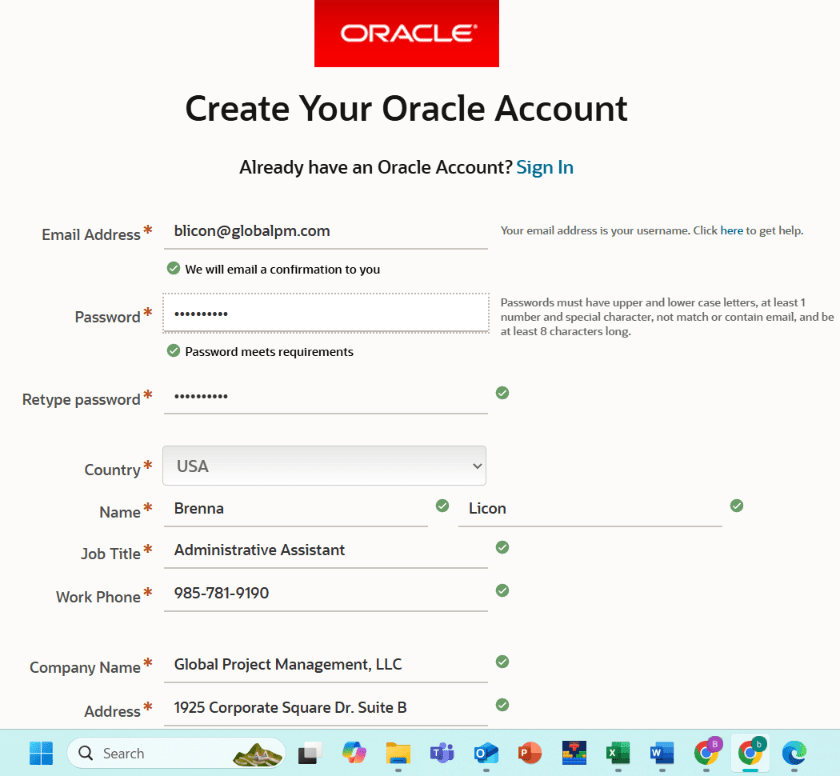
Important: An Oracle account is mandatory to access the software download.
A screenshot of a computer screen AI-generated content may be incorrect.

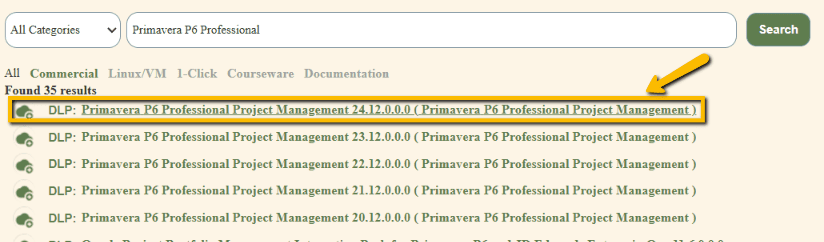
STEP 3: SEARCH FOR PRIMAVERA P6 PROFESSIONAL

  1. Log into your Oracle account.
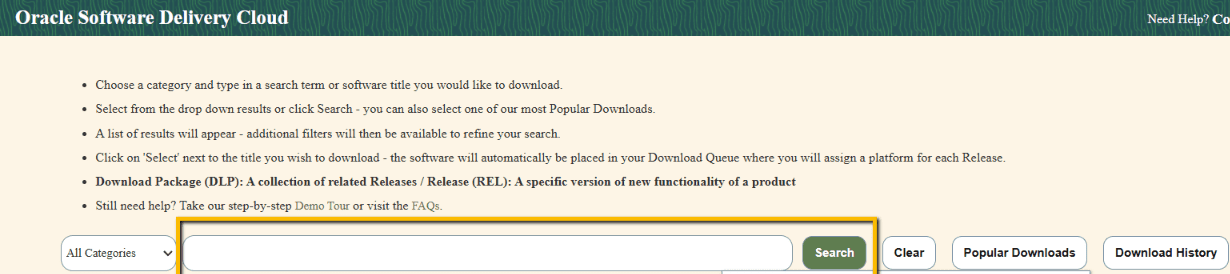
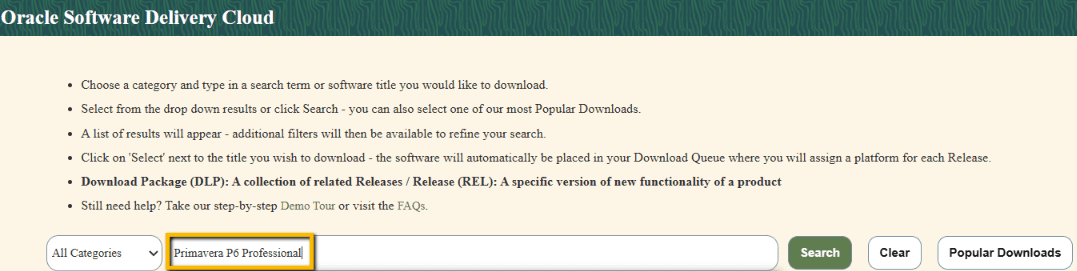
  2. Use the large search bar on the Oracle Software Delivery Cloud.
    A screenshot of a computer AI-generated content may be incorrect.
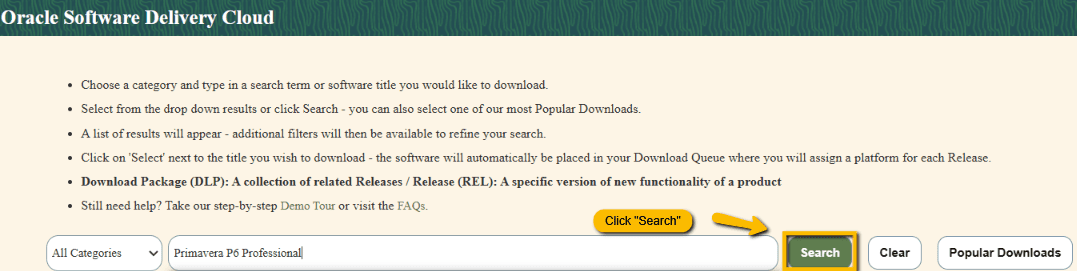
  3. Type in:➔ Primavera P6 Professional
    A screenshot of a computer AI-generated content may be incorrect.
  4. Click Search.
    A screenshot of a computer AI-generated content may be incorrect.

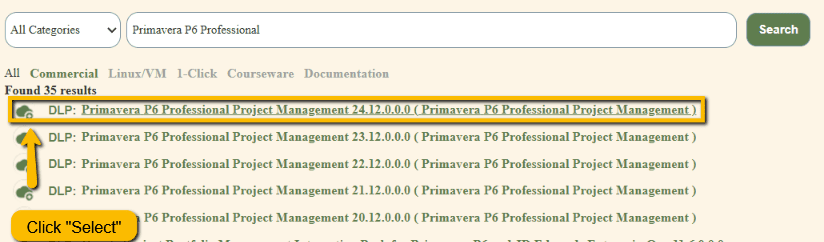
STEP 4: SELECT THE CORRECT VERSION

  1. Look for:➔ Primavera P6 Professional Release 24.12
    A screenshot of a computer AI-generated content may be incorrect.
  2. Ignore other packages like EPPM or DLP unless specifically required.
  3. Click Select on Primavera P6 Professional Release 24.12.
    A screenshot of a computer AI-generated content may be incorrect.

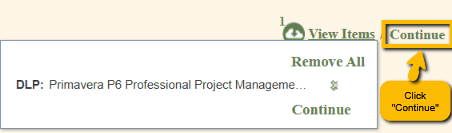
STEP 5: ADD TO CART AND ACCEPT TERMS

  1. The software will be added to your cart.
    A screenshot of a computer AI-generated content may be incorrect.
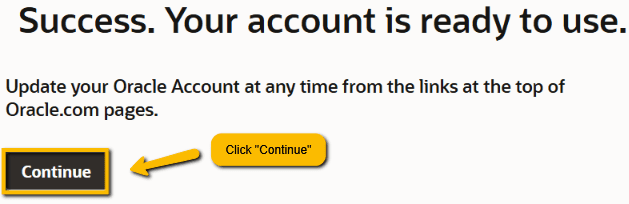
  2. Hover over "View Items" at the top-right and click Continue.
    A screenshot of a computer AI-generated content may be incorrect.
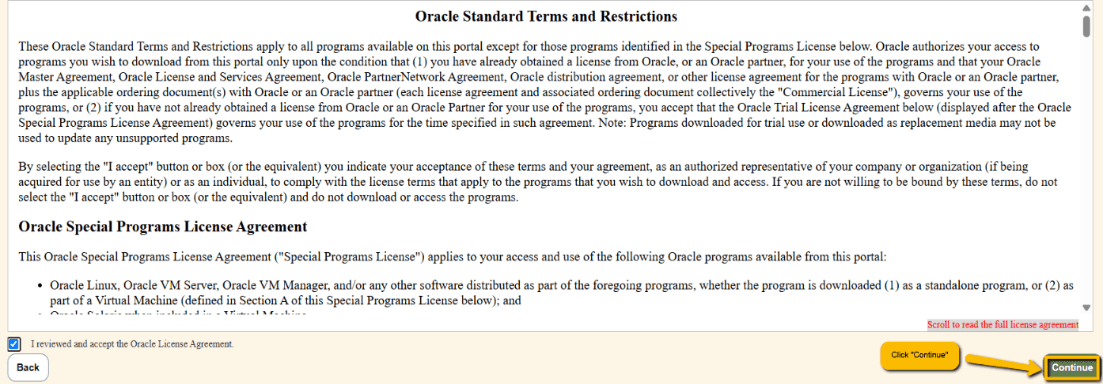
  3. Read and accept the license agreement:
    • You are agreeing to a 30-day trial license.
  4. Click Continue again.
    A screenshot of a computer AI-generated content may be incorrect.

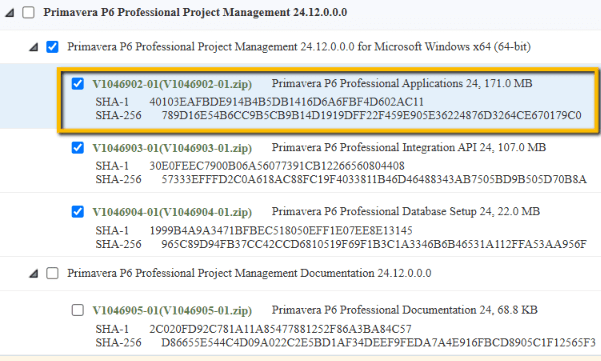
STEP 6: DOWNLOAD THE SOFTWARE

  1. Locate the application zip file (you don't need database or API files).
    A screenshot of a computer AI-generated content may be incorrect.
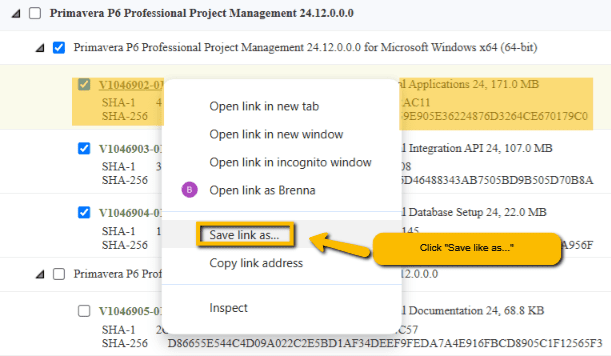
  2. Right-click the download button and choose "Save link as".
    A screenshot of a computer AI-generated content may be incorrect.
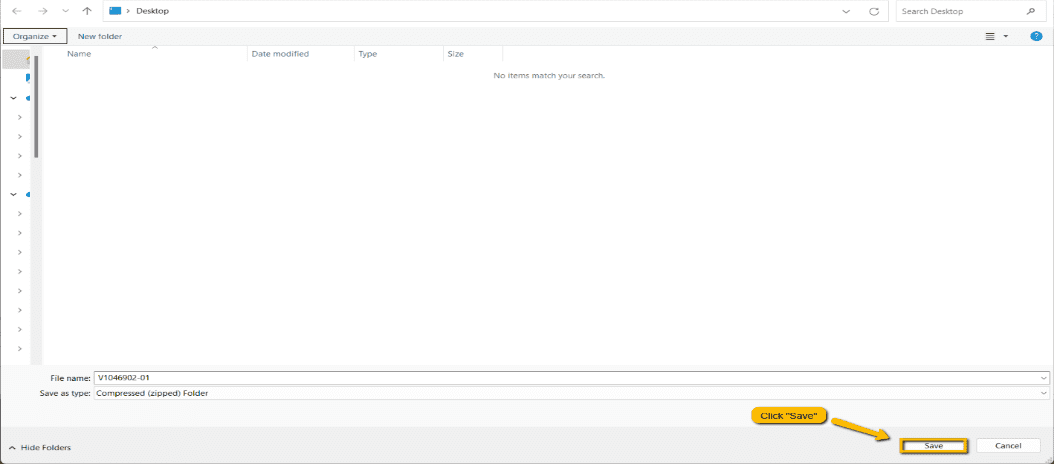
  3. Save the file to your Desktop or preferred folder.
    A screenshot of a computer AI-generated content may be incorrect.

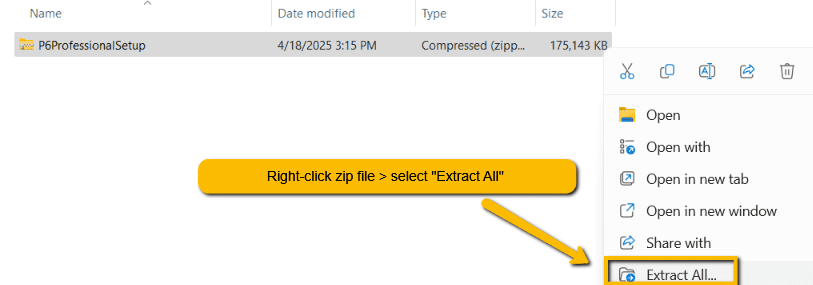
STEP 7: EXTRACT THE FILES

  1. Right-click the downloaded zip file → select "Extract All".

A yellow box with a black arrow pointing to the end AI-generated content may be incorrect.

  1. Inside the extracted folder, locate another zip (Release 24.12).

  1. Again, extract this inner zip file.
    A screenshot of a computer AI-generated content may be incorrect.

STEP 8: INSTALL PRIMAVERA P6

  1. Open the extracted P6 Professional Setup folder.

A screenshot of a computer AI-generated content may be incorrect.

  1. Double-click the setup.exe file.
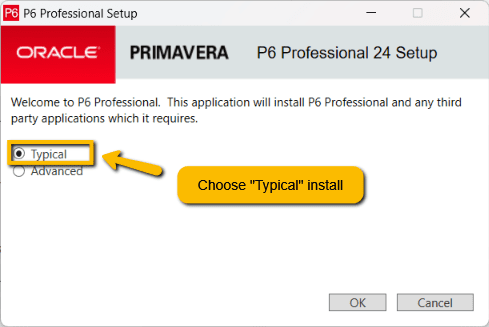
  2. During installation:
    • Choose Typical Install.
      A screenshot of a computer AI-generated content may be incorrect.
    • Uncheck "Replace existing versions" if you wish to retain previous installations
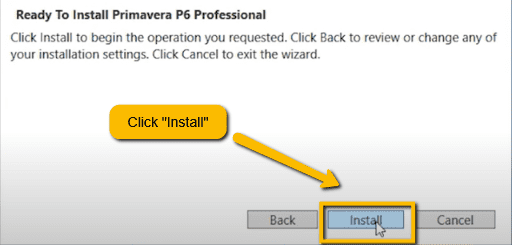
  3. Click Install and wait for completion.
    A screenshot of a computer AI-generated content may be incorrect.

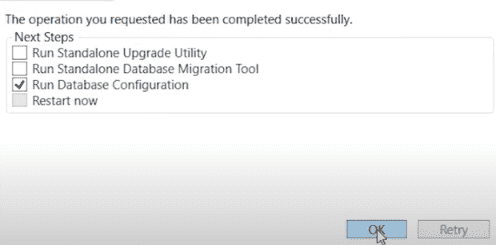
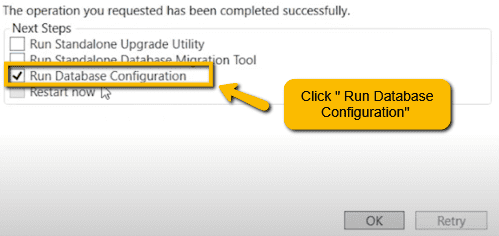
STEP 9: CONFIGURE THE DATABASE (SQLite)

  1. After installation, a prompt will appear.
    A screenshot of a computer AI-generated content may be incorrect.
  2. Select to run Database Configuration (do not run Upgrade Utility).
    A screenshot of a computer AI-generated content may be incorrect.

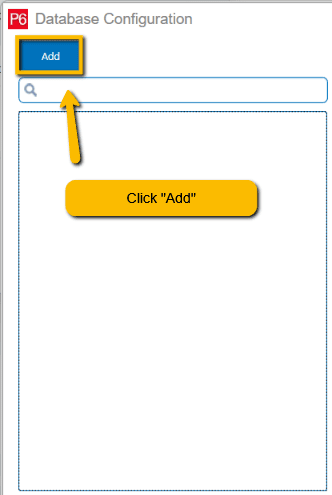
To set up a new database:

  • Click Add.
    A screenshot of a computer AI-generated content may be incorrect.
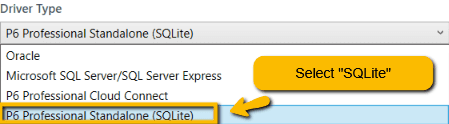
  • Select SQLite as the database type.

A screenshot of a computer AI-generated content may be incorrect.

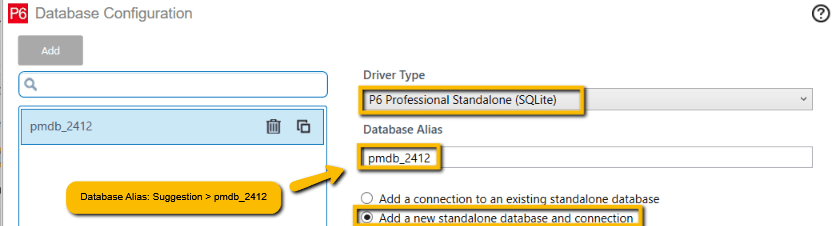
  • Choose "Add a New Standalone Database and Connection".

A screenshot of a computer AI-generated content may be incorrect.

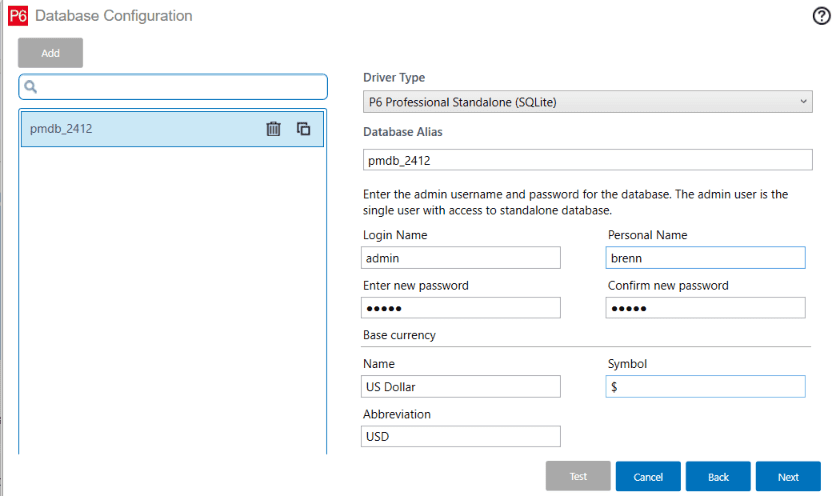
  • Database Alias: Suggestion → pmdb_2412
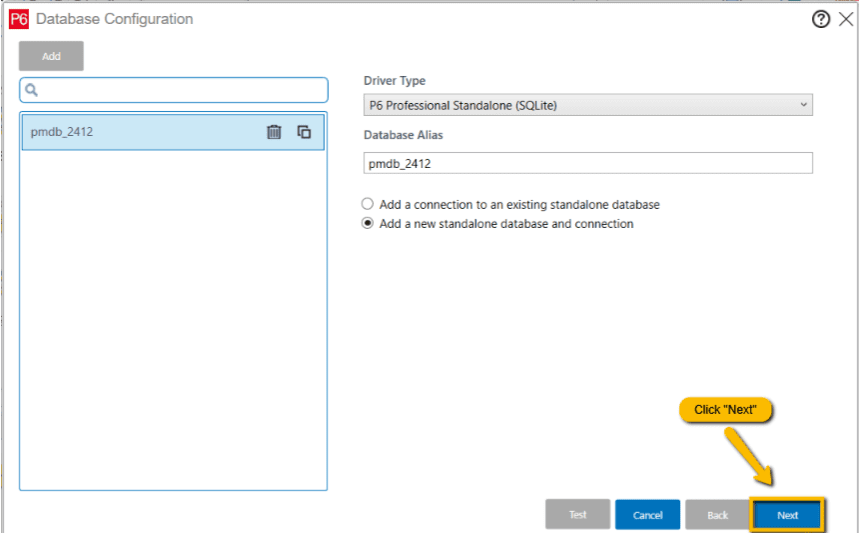
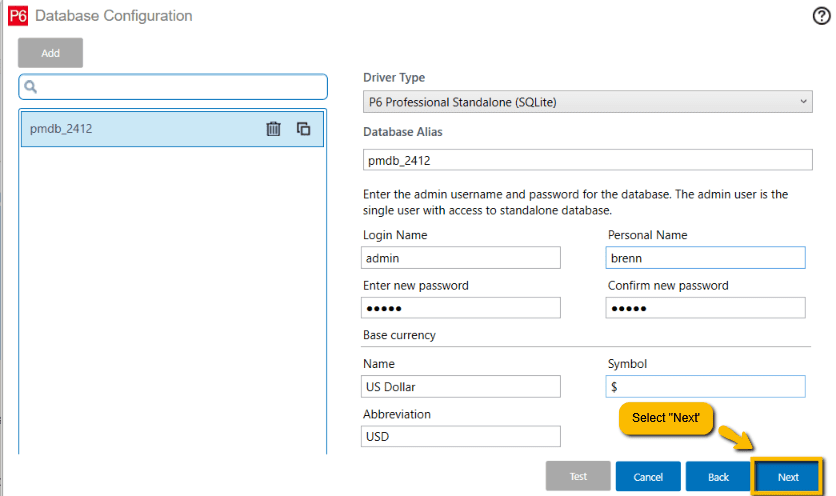
A screenshot of a computer AI-generated content may be incorrect.

  • Click Next.
    A screenshot of a computer AI-generated content may be incorrect.
  • Admin username: adminPassword: admin (or a custom password for better security).
    A screenshot of a computer AI-generated content may be incorrect.
  • Click Next.

A screenshot of a computer AI-generated content may be incorrect.

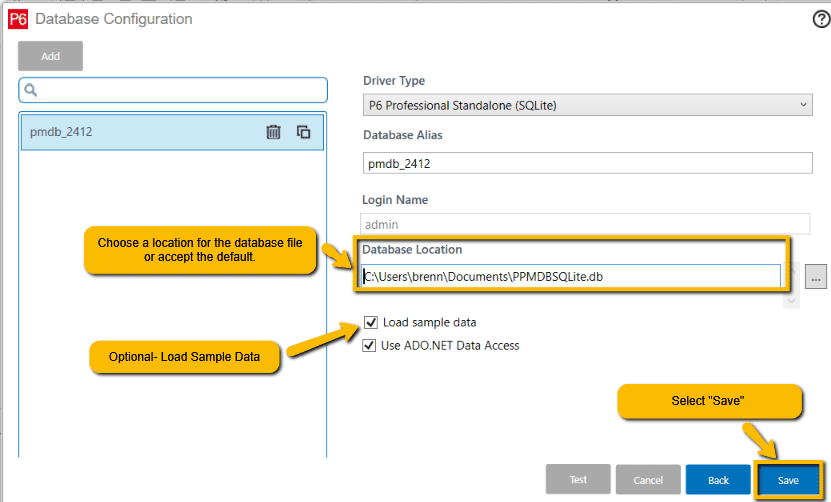
  • Choose a location for the database file or accept the default.
  • Optional: Check Load Sample Data to preload sample projects.
  1. Save the database configuration.
    A screenshot of a computer AI-generated content may be incorrect.

STEP 10: LAUNCH PRIMAVERA P6!

  1. Go to Start MenuOracle - Primavera P6Primavera P6 Professional 24 x64. Start Menu-
    A yellow rectangular object with black letters AI-generated content may be incorrect.

Oracle – Primavera P6 -
A screenshot of a computer AI-generated content may be incorrect.

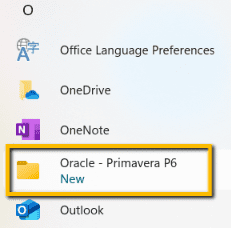
Launch Primavera P6 Professional 24 x 64 -
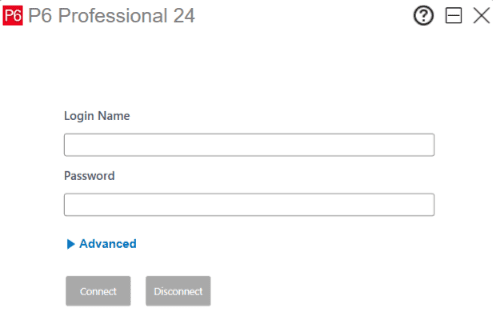
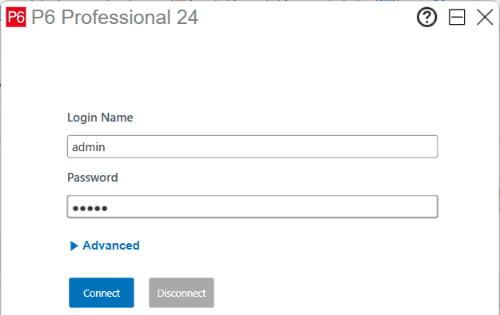
A screenshot of a login form AI-generated content may be incorrect.

  1. Log in with:
    • Username: admin
    • Password: admin

A screenshot of a computer AI-generated content may be incorrect.

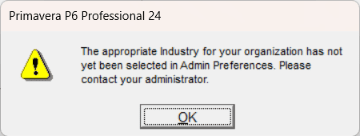
STEP 11: SELECT THE INDUSTRY TYPE

  1. Upon first launch, a popup may appear ("Industry not set").
    A screenshot of a computer error message AI-generated content may be incorrect.
  2. To fix:
    • Go to Admin → Admin Preferences.
      A screenshot of a computer AI-generated content may be incorrect.
    • Navigate to the Industry Tab.

A screenshot of a phone AI-generated content may be incorrect.

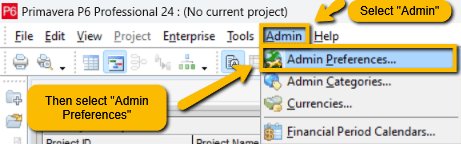
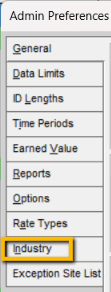
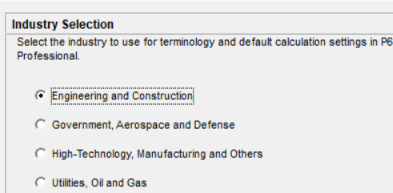
    • Set Industry to Engineering and Construction.

A screenshot of a computer AI-generated content may be incorrect.

Congratulations!

You have now installed and configured Primavera P6 Professional 24.12 successfully. You are now ready to start planning, scheduling, and managing projects!


If you have any questions, please call us at (985) 781-9190!

Recent Posts

Primavera P6 Professional Free Trial: Easy Install Guide for Beginners

April 22, 2025

Downloading and Installing Primavera P6 Professional Version 24.12 – Made Easy! Overview This guide walks…

Read More

Top 5 Reasons to Get Agile Certified with PMI-ACP

April 8, 2025

Top 5 Reasons to Get Your Agile Certification: PMI-ACP If you’re serious about advancing your…

Read More

The Progress Line in Primavera P6 Professional

April 3, 2025

What is that Red Progress Line in Primavera P6? By: Trey Miller, PMP, PMI-SP Primavera…

Read More

XER vs. XML Files in Primavera P6: Which One Should You Use?

March 10, 2025

XER vs. XML Files in Primavera P6: Which One Should You Use? When managing projects…

Read More

Microsoft Project Online vs. Oracle Primavera Cloud: Which is Best for You?

February 25, 2025

MS Project Online vs. Primavera Cloud: Which is Best? Choosing the right cloud-based project management…

Read More

Leave a Comment