Optimizing Your Projects with Resource Leveling in Primavera P6
Effective project management hinges on efficient resource allocation. Overallocated resources can derail schedules, inflate costs, and hinder team performance. In this guide, we’ll explore how to leverage resource leveling in Primavera P6 to optimize your project schedules, prevent overallocation, and enhance efficiency.
What Is Resource Leveling?
Resource leveling adjusts activity start and finish dates based on resource availability, ensuring a balanced allocation without breaking schedule logic.
Key Benefits of Resource Leveling:
- Preventing resource bottlenecks.
- Maintaining logical relationships between activities.
- Ensuring adherence to project constraints and deadlines.
What Resource Leveling Does Not Do
While leveling can make your schedule more realistic, it does not:
- Permanently alter your schedule. You can revert changes by rescheduling.
- Guarantee optimal results without review. Misapplied constraints can create inflexible schedules or invalid critical paths.
Step-by-Step Guide to Resource Leveling in Primavera P6
1. Set Up Priorities
Priorities determine which activities or projects the leveling tool adjusts first. Primavera P6 allows you to configure priorities at two levels:
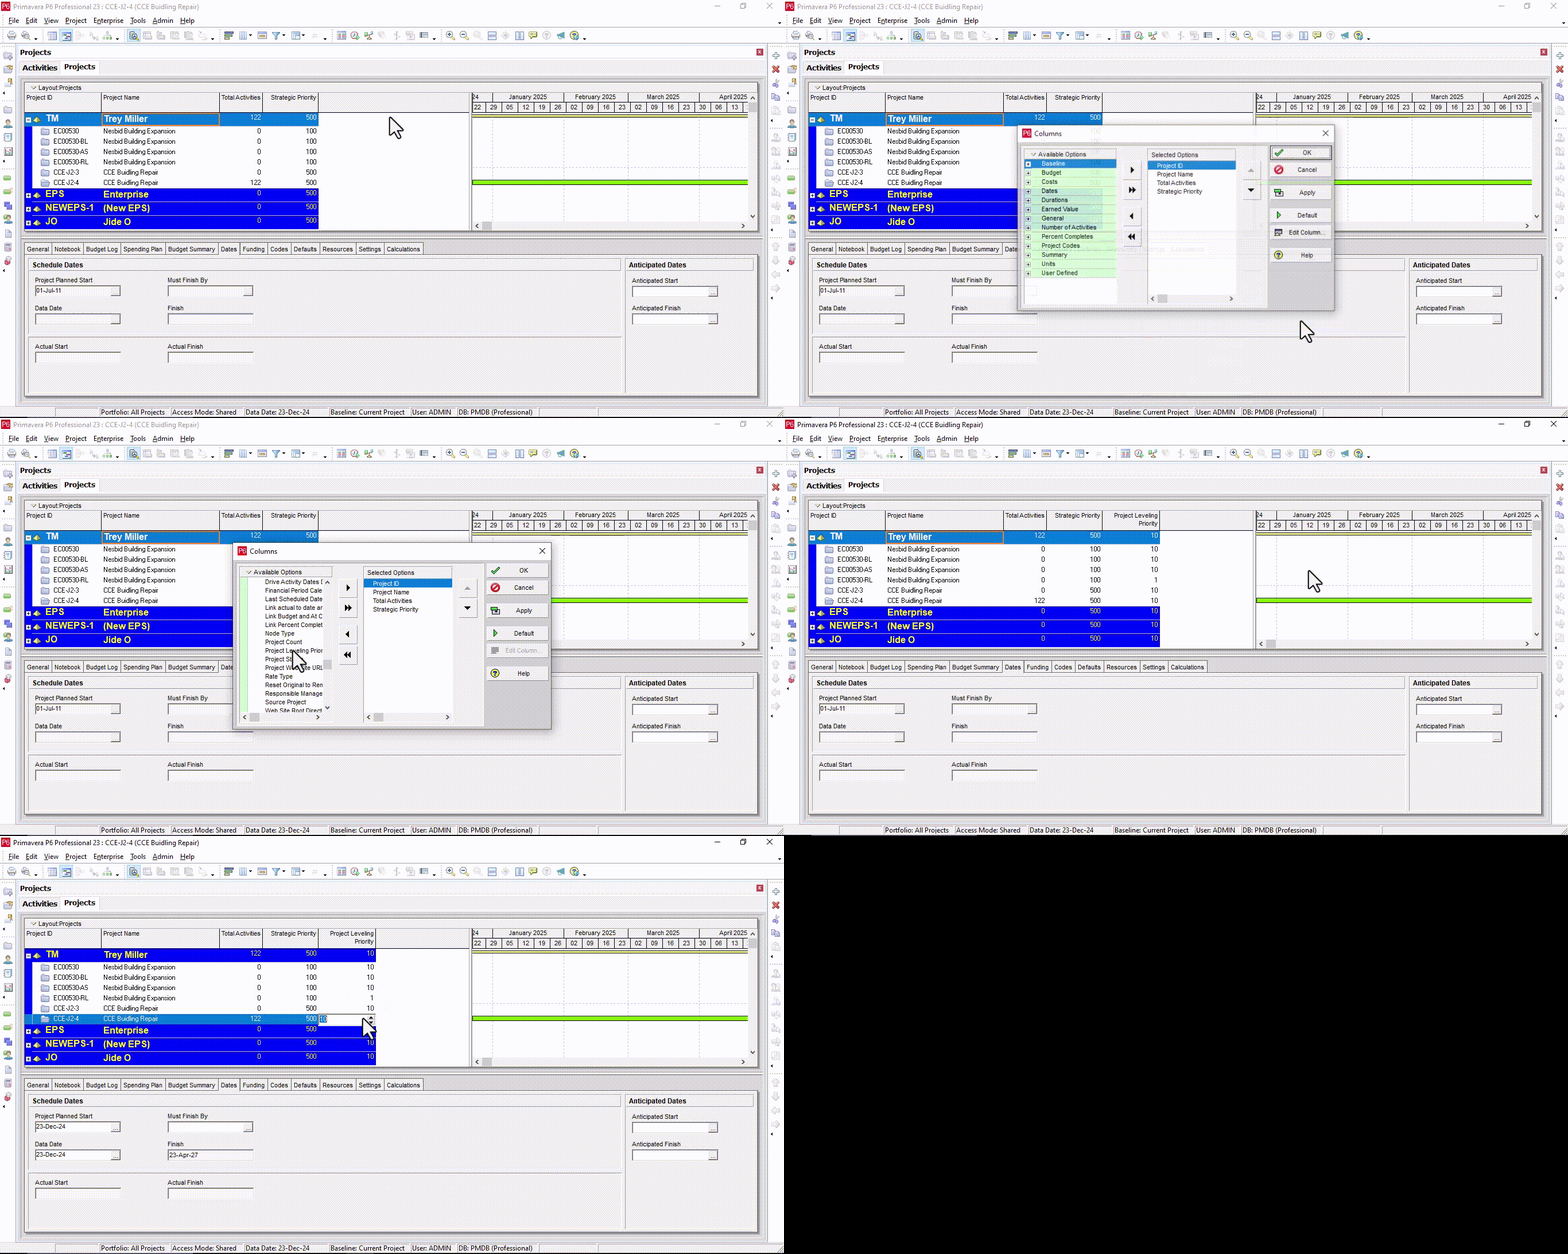
Project-Level Priorities:
1. Right-click in the Project view.
2. Select Columns > Customize > General Tab, and add Project Leveling Priority.
3. Assign lower numbers for higher priority projects.

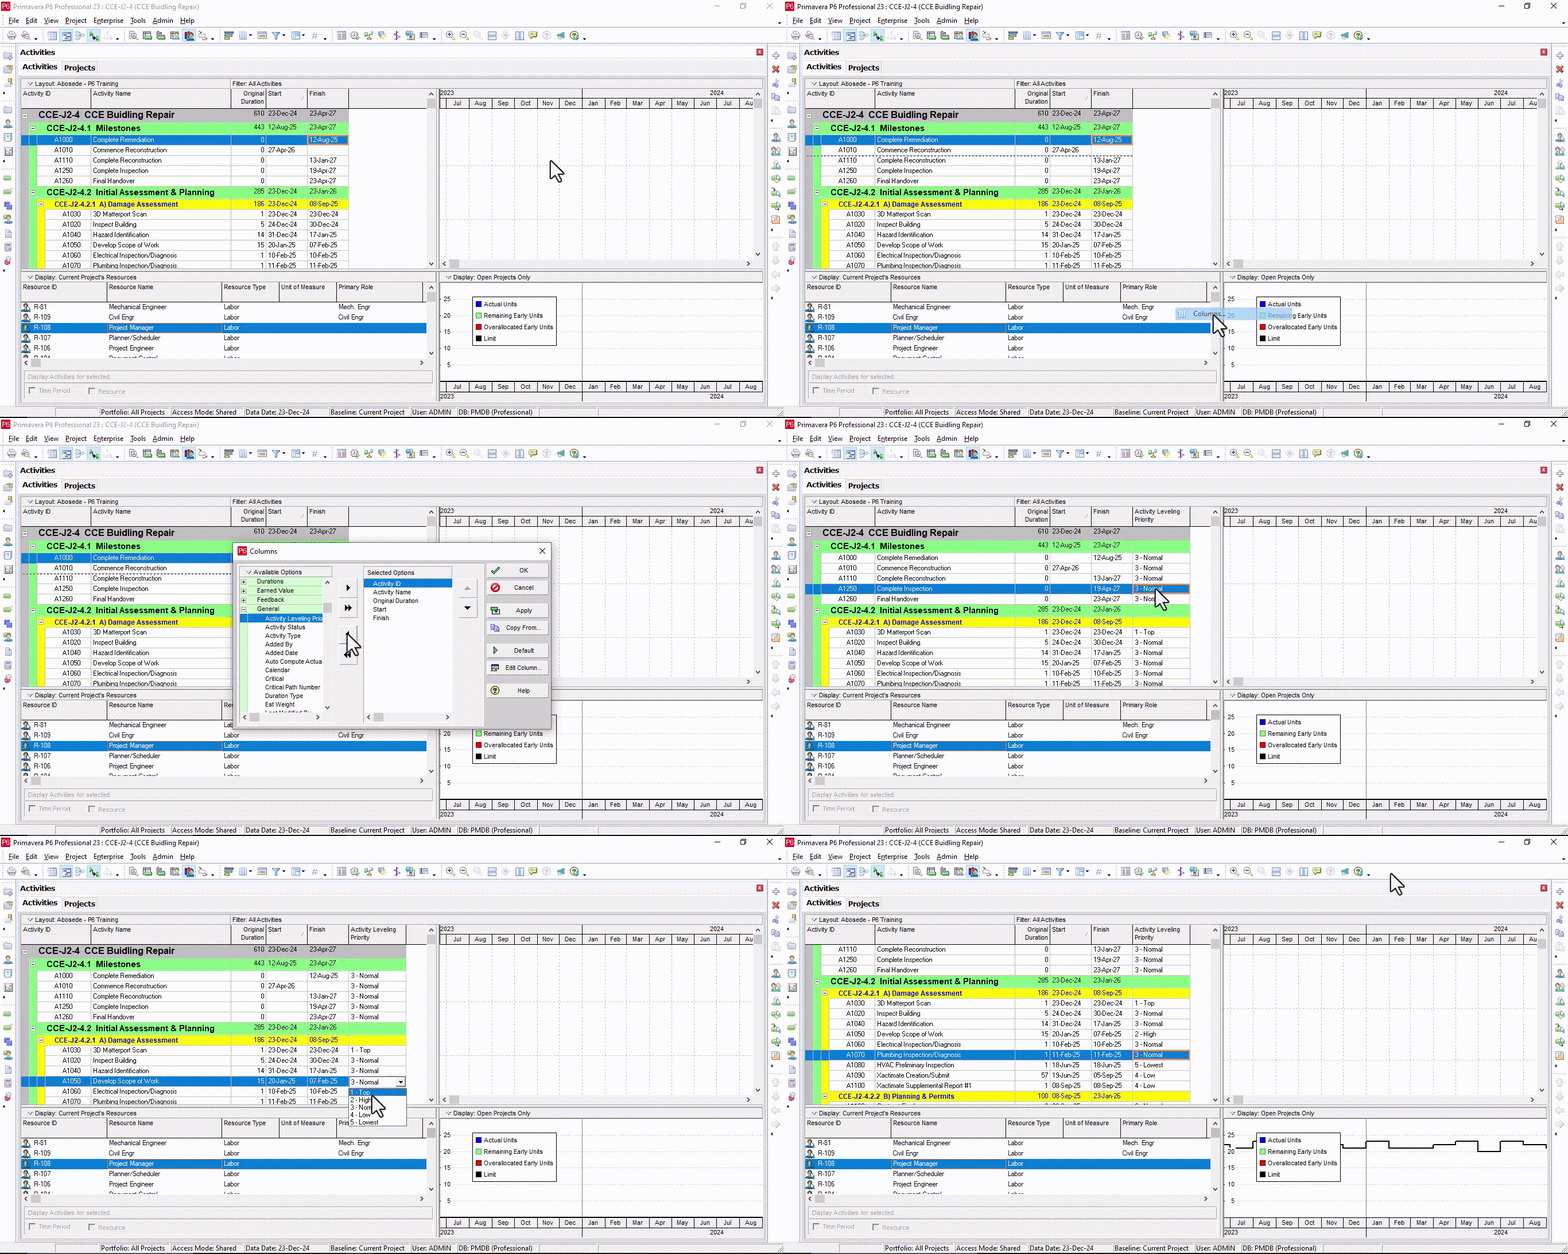
Activity-Level Priorities:
1. In the schedule view, right-click and choose Columns > General Tab.
2. Add Activity Leveling Priority.
3. Choose from preset levels (e.g., low, normal, high) or define custom priorities.

2. Identify Overallocated Resources
Review your resource assignments for overallocation:
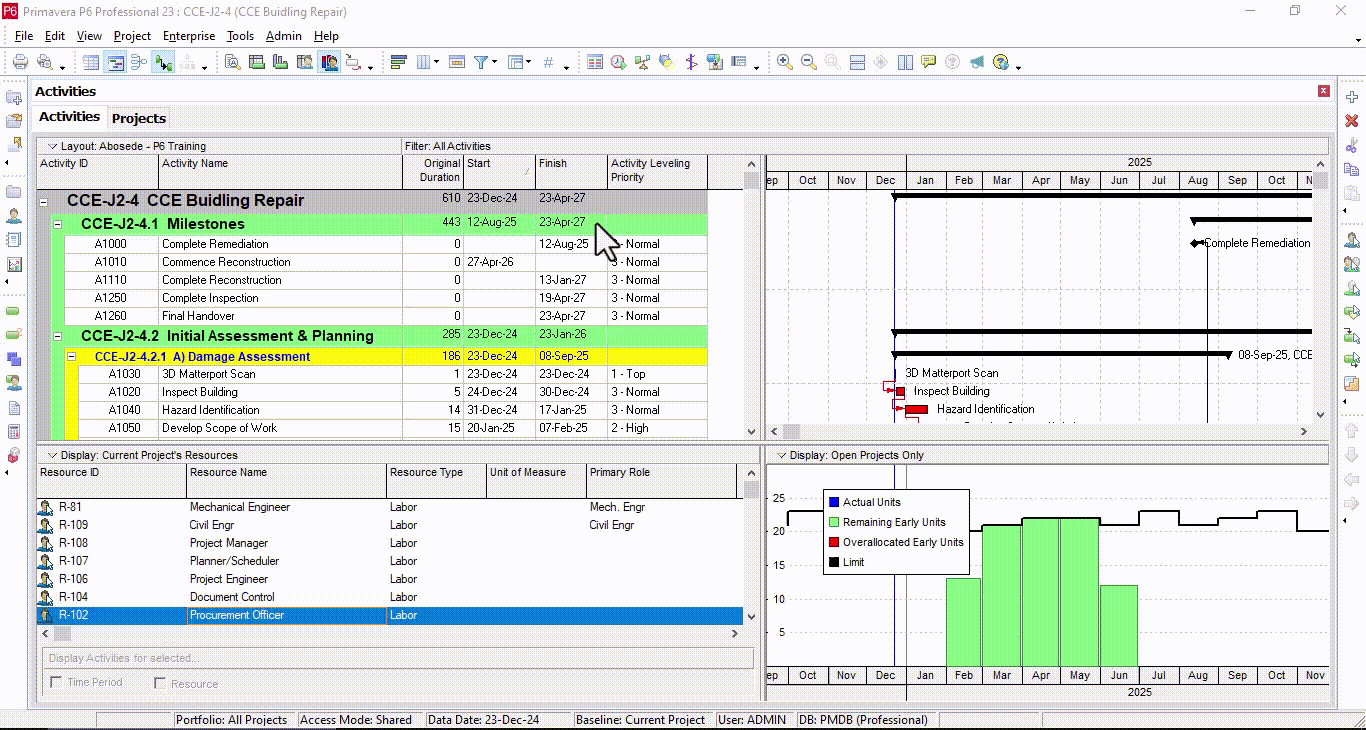
• Navigate to the Activities Window > Resource Usage Profile.
• Look for red bars in the graph, indicating overallocated resources.
• Filter the view to focus on specific resources or projects.
3. Open the Resource Leveling Tool
- Go to Tools > Level Resources, or press Shift + F9.
4. Configure Leveling Options
In the Level Resources dialog box, fine-tune options to fit your project goals:
- Automatically Level Resources When Scheduling: This is useful for dynamic schedules, but manual leveling is often more precise.
- Consider Assignments in Other Projects Evaluate resource demands across multiple projects by setting priority thresholds.
Preserve Scheduled Early and Late Dates Maintains the original schedule where possible, ensuring changes stay within float.
- Level Resources Only Within Activity Total Float Prevents activities from extending beyond their float, safeguarding project finish dates.
- Recalculate Assignment Costs After Leveling Updates costs if leveling shifts activity dates into different cost periods.
- Log to File Generates a detailed log of all changes made during leveling for easy review.
Tip: If no leveling priorities are set, Primavera defaults to Activity ID, which may not reflect your project’s strategic goals.
5. Execute the Leveling
Click Level to begin the process. Primavera P6 will automatically adjust activity dates based on the parameters you’ve set.
6. Review and Adjust
After leveling, assess the updated schedule:
- Analyze the Resource Usage Profile: Ensure all overallocations are resolved.
- Review the Critical Path: Confirm it remains valid and achievable.
- Check the Leveling Log: Identify moved activities and unresolved issues.
If the results are unsatisfactory, you can:
- Adjust priorities or constraints and repeat the leveling process.
- Reschedule the project to revert changes and start fresh.


